Showing posts with label Save me some money. Show all posts

26 March, 2011

Oranges and lemons, say the bells of St Clement's

I love my citrus fruits.  If you made me pick a favorite, it would be hard as each one has it's advantages and each shines in different dishes.  Oranges - sweet and juicy, great on their own or in dishes, lime - fantastically fragrant zest, lemons - slightly less sharp than lime but that heady fragrance!  Even grapefruit is great with sugar syrup!
But the ones that I cook most with are lemons.  They can be quite costly in Singapore some times and it's not like I cook with them every single day to warrant me buying them fresh every week.  So I buy them when they are cheap and freeze them.
Obviously, one doesn't freeze the lemon just like that, unless you cook the entire lemon whole in your dish.  So I separate out the zest and the juice.  First I wash the lemons clean and dry them well and then proceed to zest them.  I have a confession to make - I don't own a microplane nor do I own a zester.  I use a fruit peeler and take off the zest in huge chunky pieces and freeze them. If my recipe calls for thin zest, I just chop the zest up finely.  It has worked well for me all this time but I'm sure purists would be up in arms seeing how I actually have a fairly significant amount of pith on the zest.  Again, the untrained palate of my husbands can't detect the difference so I blissfully continue what I'm doing until such a time where I can get my hands on a zester.

Then I cut the lemons in half and juice them.  Again, I do not have a juicer.  Terrible isn't it?  I cut my lemons right down the thickest point and use a dessert spoon to break each sac open nicely and twist my spoon round and round.  The juice drips into a bowl and I strain it through a sieve right into my ice trays.

The zest goes straight into small ziplock bags (which I reuse) - 1 lemon, 1 bag.  The juice is frozen into ice cubes and I bag them into ziplock bags too.  1 ice cube of juice is about 2 tablespoonfuls of juice.  I label the bags with dates on sticky labels and know that I'll always have lemon at hand!


Then the remains of the pulp and all go into a bowl with some water and get blitzed in the microwaves for 2 minutes.  Then the oven gets a good wipe down.  Clean and fresh smelling!  And all the lemons get used up!

14 March, 2011

Play dough on a dime.

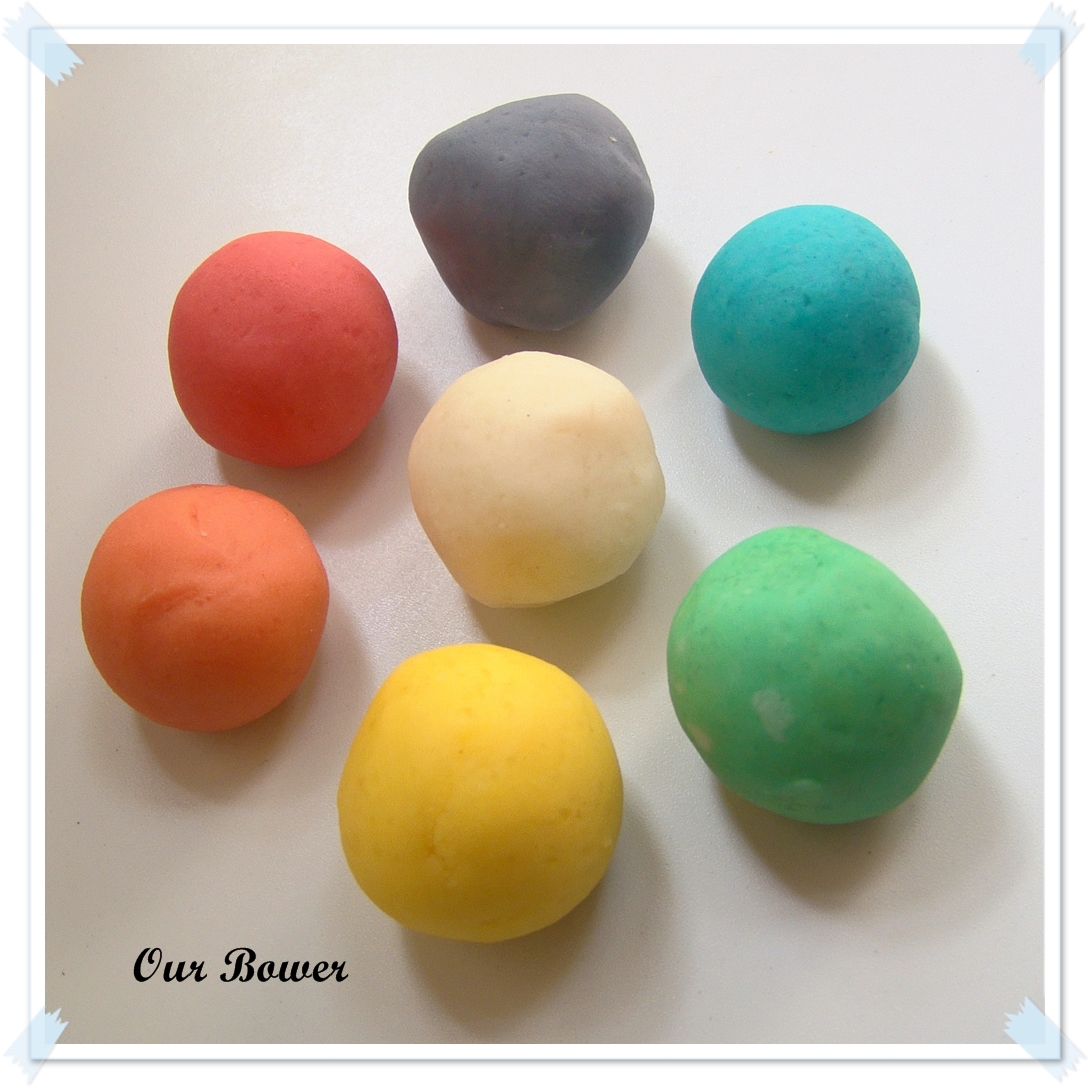
The tot loves play dough.  Actually, I haven't met a child who didn't like playdough. The texture of something squishing in your hands, the endless possibilities of the lump of dough and the bright colors are definitely a draw.  I like the idea that it exercises the little fingers and improves fine motor skills, works the imagination and best of all, engages the kid so that I can have a little time to do all the this and thats!
One thing I don't like about playdough is how they end up mixing together and becoming an ugly lump of dough.  Not that the tot actually minds.  But the OCD in me gets really annoyed.  And it would be so wasteful chucking that out and buying a new lot too!
Also, dough does dry out eventually and get yucky with bits of this and that stuck in it.  And dough stuck on carpets or clothes are quite a pain to remove.  The biggest worry is the ingestion of the dough!
Which is why I LOVE homemade playdough.  Cheap enough to chuck when it's turned grotty, safe enough to be ingested and so many colors to choose from!   If it's stuck on clothes, soak the clothes and then the dough dissolves and you can rinse it out with no problems!
The sky is literally the limit with these things.  I bought a cheap rolling pin and a set of cookie cutters, added some plastic utensils and recycle some plastic food containers and the viola!  A cheap toy that entertains the little one for hours at a time.
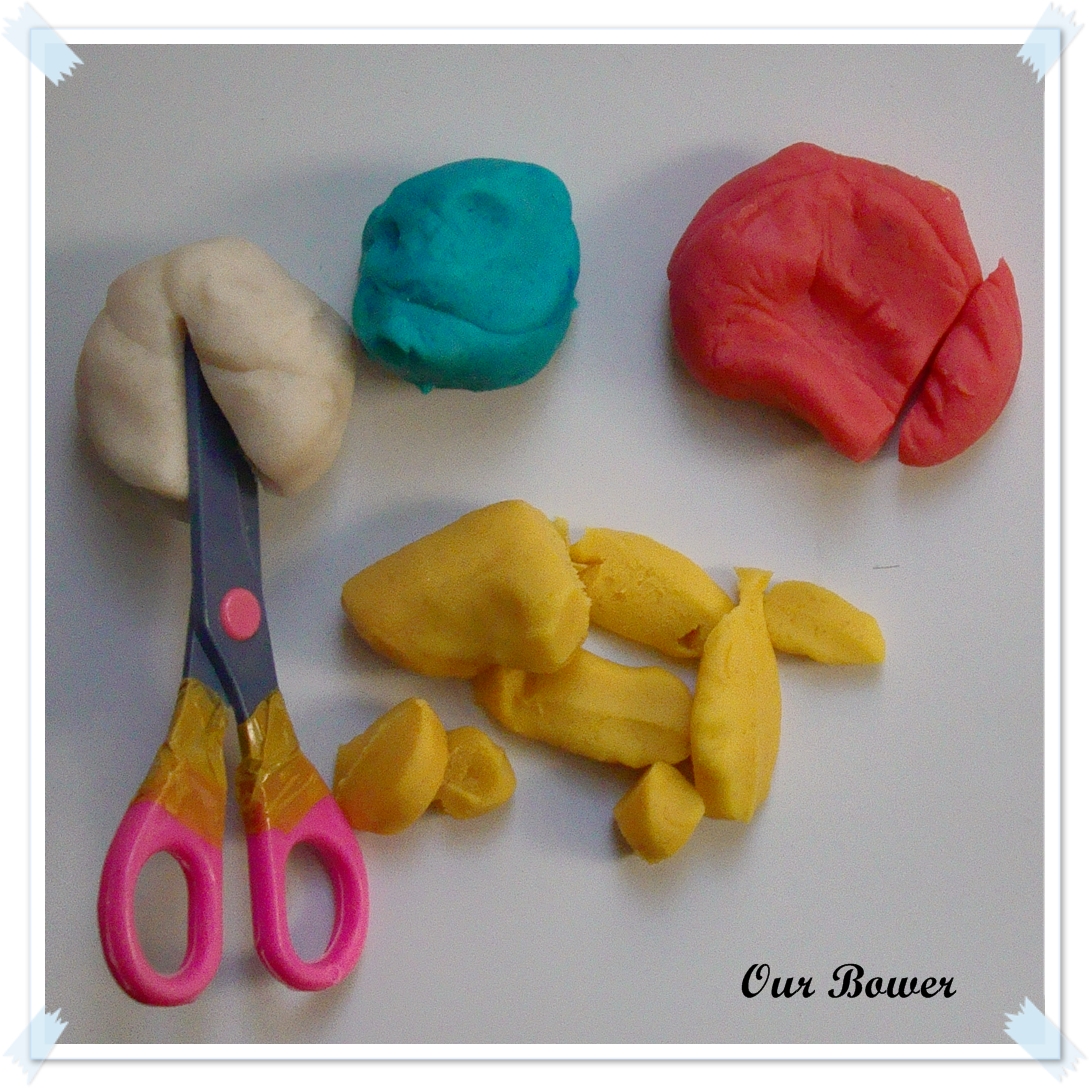
One other thing that I have found playdough to be particularly useful is in training the little one in how to use the scissors. I bought him a safety scissors that is made of plastic.  Unfortunately, it actually takes more skill than a normal scissors to cut nicely through paper.  However, with the playdough, no problems at all!  And he doesn't get himself nicked.
I'm hoping to teach colors using playdough and mixing them up. But seeing how the tot can't even consistently identify basic colors, I may have to leave it to later!

I've tried many of the recipes online and find that the cream of tartar version the best.  The recipe using baking soda and cornstarch resulted in a rather slimy afterfeel which I didn't like at all.  The "no cook versions" are largely similar to cooked versions seeing how boiling water is used. I use the no cook version as that allows me to involve the tot in the mixing.  He mixes with a wooden spoon in a huge mixing bowl and only after I've mixed the mixture enough to not have any liquid in the bowl.  The boiled version tends to result in a salt crust on the dough after a while so I don't really fancy that method either.

There are a thousand and one recipes online and this is the base recipe.  A lot of people add flavors and such to the dough and yes, they smell delicious!  But I don't.  There really is no need to encourage my greedy tot to mouth the dough with the delicious smells even if it's safe.

Here's the recipe I use!  Do you have any non toxic recipes for crafts for children?  I would love to hear from you!

Playdough
1 cup all purpose flour
1 cup boiling water
1 tbs of cooking oil
1/2 cup salt
4 tablespoons cream of tartar
food coloring
  1. Combine the flour, salt and cream of tartar in a mixing bowl.
  2. Mix the cooking oil with the boiling water.
  3. Pour the boiling water over the dry ingredients and mix continuously until smooth.
  4. Knead in your preferred food color.
Have fun!

12 March, 2011

Round and round we go!


When I saw this at abstractoctopus, it went straight to one of my book marks.  I wanted a less bulky look so I cut up my magazine papers into 1/16s and folded that down halfway.  Me and my ambition - I paid sorely for that.  I was tearing magazines for days!

Instead of gluing it and using a bulldog clip to hold it together, I just rolled it into 1 big roll using scotchtape to join up the papers.  Then I used my glue to spread it all over and allow for it to seep between the cracks.  I'm out of modge podge but the normal glue seemed to work just fine!

The tot has staked his claim on it already and has been using it for his doodads.  It was fun making but I doubt I'll make another one.  Too time consuming for impatient ole me!

Do you have any other ideas on how to make fancy boxes out of magazine paper?

Have a look here for more ideas on how to use up those magazines!

05 March, 2011

Home made rubber balls...


Do you remember the rubber band skipping ropes we made as children to play "Zero point" and those rubber balls that would bounce almost as high as the point at which they were dropped?  I do.  And when I googled zero point, it said it was a "traditional" game.  That made me feel old in an instant!

Anyhow, the tot is too young to play zero point and I had a lot of rubber bands.  So I thought, why not make a rubber ball with them?  So I wound rubber bands over one another repeatedly.  It's that brainless and easy.

The ball bounces quite well but I would highly recommend that you do not encourage any throwing - it hurts if you are hit with it!  And play with it outside.  The window can shatter from the impact.  It's that solid.

26 February, 2011

Paper baskets!

I came across zipper8design's woven basket (which was inspired by Nifty Thrifty Things) and had to try my hand at it.  It also fell right into my theme of recycling magazines currently - perfect!

It wasn't easy to do initially.  But once I got the idea of what was actually going on, I couldn't stop.  I ended up making 4 in 1 sitting.

I loved how it contained my sewing thread and needles altogether when I was doing my mending.  No more digging around for the spool that has rolled off the table!
The tot asked that I make one into a basket - which I happily obliged with my 1st trial version.  He carried it around, proclaiming that he was going to the market!
I made some modifications as I went along, using all the tips from Zipper8Design and Nifty Thrifty Things.  Nothing major but it helped me make the baskets with a bit more ease.
  1. I used magazine paper instead of newspaper - the paper weight is heavier so I folded the strips twice only and got it stiff enough.  When I folded it thrice, the paper was a bit too stiff and kept coming apart.  
  2. As the paper strip length was also shorter, I cut down the number of strips to 6x6.  When I tried anything more than that, I got a very shallow container and it was very difficult to keep the shape as the strips wouldn't catch well.
  3. I used 1 cm strips - the thinner the strips, the narrower the base of the basket and the taller the basket.
Hope this inspires you too!  Have fun!

Have a look here for more ideas on how to use up those magazines!

25 February, 2011

Waste Not, Want Not

I'm not sure about you but I'm a sucker for beauty free samples.  Not that I actually end up using them most times.  It's just the thought of getting something free that really makes me excited and results in me buying more things (read: probably unnecessary things) just to get enough points to get something free!

Now that's probably not a good method of money management, even if it makes the merchants very happy.  The bottom line is that you have spent more than you had originally set out to.  So I've decided to save me some money!  Here's the plan:
  1. Sort through all my samples: 
  2. Chuck out anything that looks or smells dodgy, is past the expiration date or I definitely wouldn't use (e.g. foundation that isn't my color).
  3. Categorize to product type and arrange according to expiry date (or at least as chronologically as I possibly can.)
  4. Not buy any product unless I've finished what I have in hand.
  5. Be really disciplined and avoid the same trap again.

I've gone through the last month using just samples and I still have this much left.  There's definitely a lot less clutter around the toilet and I have the satisfaction of watching the pile dwindle.  I've also definitely saved at least $50 on products so far.  Once I finish the samples, I'll share with you my plan with the full sized items!

23 February, 2011

Teaching tiny fingers on the cheap


It's important for toddlers to practice their fine motor skills as this helps them learn to use their fingers and improve their dexterity.  One of the recommended activities is to string up pasta with a string to form a necklace. However, I'm not exactly keen that the tot "plays with food" as I'm concerned that he would get confused with real food.


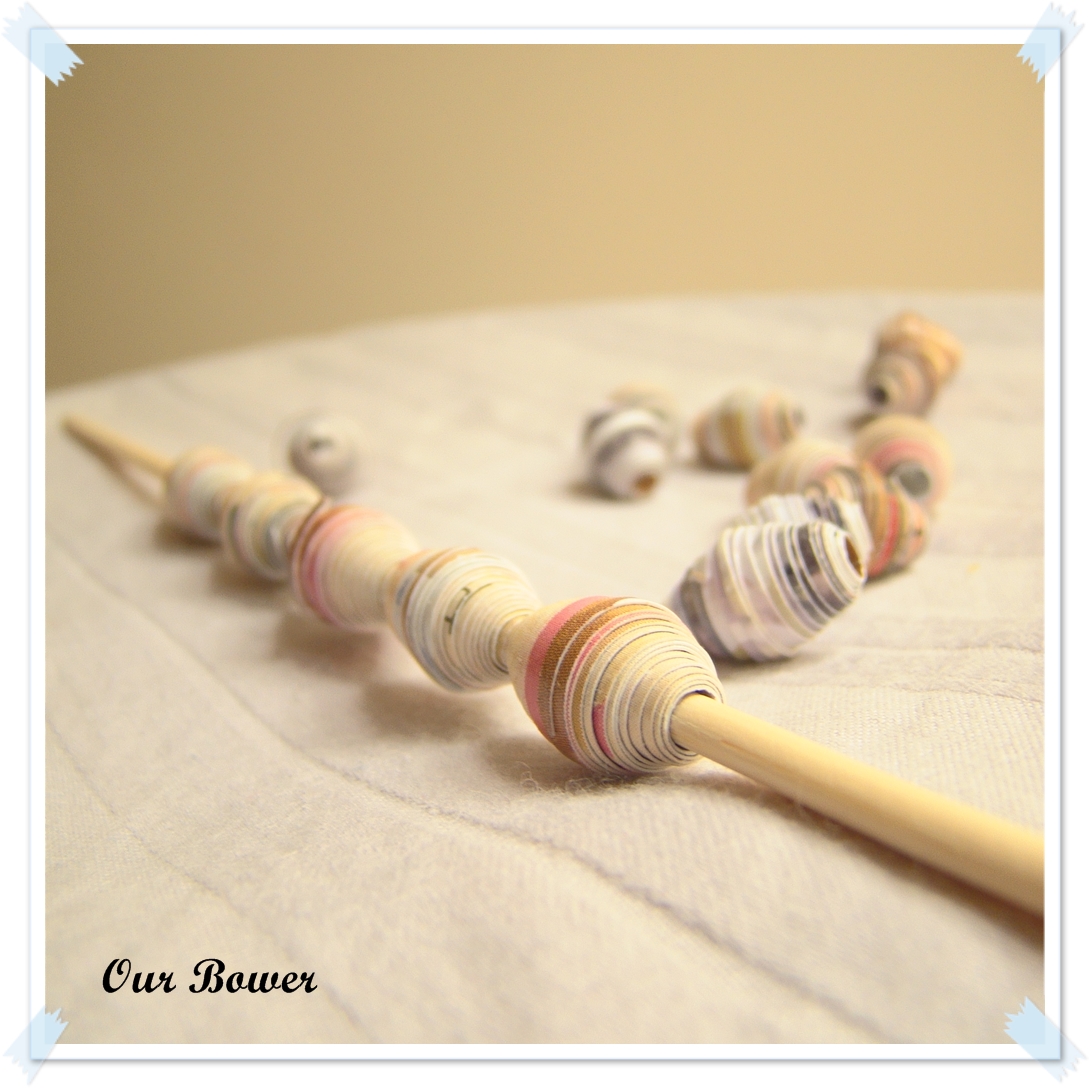
My solution?  Paper beads!  With my stack of magazines growing, I had lots of material.  It's a very, very simple project and you can even involve your child in making them.  After the beads dried, the tot has been having fun threading them onto the stick again.  He also uses them to count and treats it like "money"!

Paper beads
Material
Colorful paper
Ruler
Pen knife
Glue
Satay stick

Instructions
  1. Using the ruler, cut the paper into long triangular strips.
  2. Apply a small amount of glue to the paper on the "wrong" side of the paper (the side that is to be hidden).
  3. Using a stick, roll the paper tightly around it, starting from the broader end.
  4. Allow glue to dry before removing from the stick.
Tips
  1. Heavier paper gives you larger beads, as with longer strips of paper.
  2. You can use "wet glue" or tape glue.  Tape glue may be less messy but trickier for toddlers - I don't let my tot near it as he ended up unwinding the entire reel once!
  3. Varying the width of the strip's base varies the length of the bead.
  4. You can actually spray the beads evenly with lacquer if you intend to wear these beads!
Have a look here for more ideas on how to use up those magazines!

21 February, 2011

Using up those magazines

Looking at the stack of old magazines that I had ploughed through, part of me said "Just chuck them in the recycling bin!".  Another part said "What could you do with these?"  So this is the list that I made:
  1. Using it to wrap breakable things for packing - it sure beats the carbon that is left behind from the newspapers we usually use.  Much cleaner in my opinion!
  2. Shredding it and using it as stuffing in wrapping presents - cheaper than using new colored paper.
  3. Make disposable boxes - very useful for messy craft times and dinners with loads of cast offs e.g. crab eating sessions
  4. Make paper chains - fast and easy decoration for parties and the like
  5. Origami - endless possibilities!
  6. Make paper beads - the kids love it for stringing or playing.  Their imagination is the limit!
  7. Make paper dolls - I love cheap toys that allow children to use their imagination.  Can you tell?
  8. Make collages - I remember doing this when I was in Primary school!
  9. Paper basket weaving - great as containers!
  10. Paper boxes - it can look nicer than you think!
Hopefully, I'll be able to put up some photos of the above projects (if I get to do them!) over time with instructions.  Watch this space!

12 February, 2011

Freezer Pleasers

Do you ever get sick and tired of eating the food at work?  I know I do.  After a while, the food starts getting boring and I shudder to think of the true nutritional value or the lack there of.  But I regret to say that I already have enough difficulty waking up in time for work, much less to cook BEFORE going to work!
There are days where I bring the dinner left overs from the day before and there are days where I just force myself to eat what the food court offers.  So I figured, why not have something that can be easily prepared before I go to work if there are no left overs!  Congratulating myself on that brilliant idea, I went on a search for freezer friendly food.

If you are of the same generation as I am, you'd recall Garfield scarfing down pans of lasagne and it was a dish that always intrigued me as a child.  Mum never cooked "Western" food of this kind and when we ate out, fish and chips invariably was THE western food we'd order.  I also remembered reading of how bechamel sauces turned lumpy, how lagsane sheets would disintegrate and such - hardly encouraging to someone who felt an aversion to chucking food even if it turned out to be a disaster.
But curiosity got the better of me and I'm glad to say, I can make lasagne!  There are a few tricks which I learnt along the way (at the end of the recipe) which makes making lasagne and freezing it a breeze.  The hubs loves it, the bubs loves it even more and it freezes so well!  I've also done some tweaks - my bechamel sauce is made from wholemeal flour.  A great way to hide fibre in food if your kiddy is veggie and fruit adverse!

Lasagne
Meat sauce
1 tbs olive oil
2 cloves of garlic finely minced
1 medium sized onion finely chopped
700g minced pork (or beef)
2 cans (800g) of canned tomatoes
1 bay leaf
1 tsp dried oregano
Salt and pepper to taste
  1. Heat olive oil in a saucepan and stir in the garlic until fragrant.  Add the onions and sautee until soft.
  2. Add the minced meat and continue to stir, breaking up the meat.
  3. Add the canned tomatoes, bay leaf and oregano when the meat is almost cooked.
  4. Add salt and pepper to taste.  Remember that you'll be adding cheese later and so you will need to cut back accordingly on the salt.  (I omit salt here)
Bechamel sauce
80g wholemeal flour
120g butter
1 litre of warm milk
1 tsp ground nutmeg
1/4 tsp of salt
  1. On low heat, melt the butter.
  2. Using a whisk, slowly incorporate the flour until the mixture forms a ball.
  3. Take it off the stove.
  4. Using a ladle, add the milk one ladle at a time and continue whisking gently.  This ensures that lumps don't form.  I highly recommend patience.
  5. Put back on the stove and bring to a gentle boil, stirring ever so often.
  6. The sauce will thicken and reach a consistency that should coat the back of your spoon.
Others
Instant lasagne sheets 1 - 2 boxes
Grated mozarella cheese
Grated cheddar cheese

Assembly
  1. Use aluminium foil to line your baking tray. (9x12 inches or so)
  2. Preheat over to 180 degrees celsius.
  3. Place a layer of instant lasagne sheets at the bottom.
  4. Layer the lasagne sheets with a thin layer of meat sauce and then bechamel sauce.  Finally layer a mixture of mozarella and cheddar cheese on top.  The cheese serves to bind everything together.  Add according to your taste.
  5. Layer another layer of lasagne sheets followed by meat sauce, bechamel sauce and cheese.
  6. The final layer should be lasagne sheets followed by a thin layer of bechamel sauce and cheese.
  7. Bake in the oven for 40 minutes at 180 degrees celsius.
Note
  1. Instant lasagne sheets don't have to be pre-prepared and can be used as is.  This saves you having to fiddle around with fragile sheets.
  2. To fit your pan better, you may have to break up the lasagne sheets and piece them together like a puzzle but keeping the sheets as a whole piece makes it easier to cut and transfer.
  3. Don't worry if your meat sauce is a bit wet - the lasagne sheets soak up all that fluid well and need it.  Otherwise, you'll have very hard pieces of pasta!
  4. When I run out of bechamel sauce by the last layer, I layer with more cheese and pour some milk over the top to cover and moisten the pasta.
  5. To freeze, leave the lasagne to cool first - this improves the handling qualities of the pasta and it retains it shape without falling into a cheesy heap.